Made in USA
(909) 971-0000
iTroll4Fishing@iTroll.us

iTroll G2.5 / G3 Innovation:
Remote Idle / Run Switch
Note: The capability to add "Remote Idle / Run Switches" is a standard function of iTroll. However, the actual touch switches are an extra cost option.
The concept of the remote idle / run switch is simple: Take the most used button on the iTroll's control head and clone it so that it can be placed anywhere in the boat. You are not limited to using a single switch, you can use multiple switches for the ultimate in efficiency and convenience!

iTroll users tend to use the remote idle / run (I/R) switches in the following configurations:
1. iTroll at helm, a single remote I/R switch in the transom area of the boat.
2. Same as (1) above except there are two remote I/R switches - one mounted in each rear corner of the boat. This is a very popular configuration with downrigger users.
3. Same as (2) above but with an additional I/R switch mounted in the front casting platform of the boat.
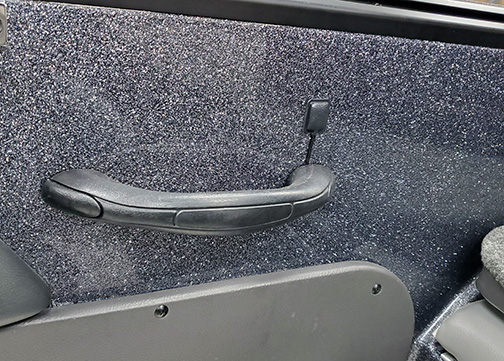
If your boat's layout permits, you can mount the remote I/R switches so that they can be operated with a knee. By mounting them in this manner, you can idle your iTroll when working a fish without taking a hand off the rod and reel! Go to 1:30 mark in above video for operation with knee.

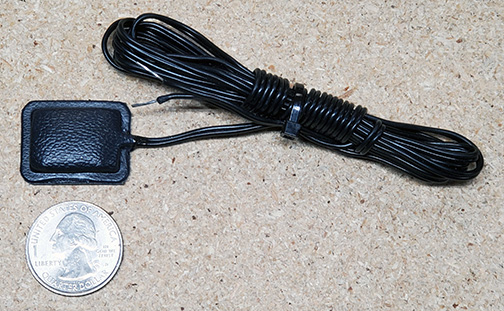
The remote Idle / Run switch is weatherproof, and is surface mounted with pre-applied double stick tape. NO drilling is required. They are hard wired into the iTroll's "Power Module". Hard wiring allows the switches to be THIN - approx 1/8 inch thick and forever free from dead or leaking batteries. For wiring instructions into the power module, see page 3 of the
iTroll electronics installation instructions.